My Astrophotography Journey: Dew Prevention
One of my main goals in starting out in astrophotography is to avoid the need to spend all night outside in the cold watching the telescope. The requirement of long exposures and multiple images where you can’t actually see what’s happening is not that appealing to me. I have been looking into methods for automating the acquisition of images without actually sitting in the dark by the telescope. This series of posts follows me in my journey towards an automated astrophotography setup that can be used at home or elsewhere without breaking my budget.
In this quick post I’ll cover what I’ve done to prevent dew forming on the telescope during the session.
What causes dew on a telescope?
When you use your telescope outdoors it starts to lose heat towards its surroundings and the night sky. Heat is lost through conduction and convection to the surrounding air but also it loses heat through radiation to the night sky. As the telescope cools it actually falls below the ambient temperature of the surrounding air and any water vapour in the air starts to condense on the cold surface.
The first question to answer is how can the telescope fall below the ambient temperature? After all that’s the temperature of its surroundings. As a self confessed physics geek, the answer is that the telescope is radiating towards the night sky rather than its surroundings. The temperature of the night sky can be calculated from the Swinbank formula which relates the night sky temperature to ambient air temperature, percentage cloud cover, relative humidity and the height of the clouds. I won’t go into full geek mode but the result of this is that the night sky is much colder than the ambient air temperature. For example:
A cool clear night in the desert, with a temperature of 5°C and a relative humidity of 5% corresponds to a night sky temperature of -29.9°C.
A warm clear night with a temperature of 15°C and a relative humidity of 25% corresponds to a night sky temperature of -9.5°C.
From these examples the night sky can be anywhere between 25ºC and 35ºC colder than the ambient air temperature (actually the temperature can range from 25ºC to 50ºC colder than ambient air temperature). As the telescope is radiating heat to this cold night sky its temperature will quickly fall below the dew point and moisture will begin to condense onto the cold parts, including any exposed metal and particularly the exposed optics. Once the telescope has been “dewed-up” it will no longer be able to captures clear images of your deep-sky target and instead will capture a washed-out, featureless, fog-like image.
Dew Prevention
Using some sort of dew prevention is an essential precaution for long exposure imaging sessions and is something you will inevitably need to address at some point or another. There are a number of solutions available for keeping your telescope objective moisture-free. The method you choose will depend heavily on the type of telescope you are trying to keep dry.
I shoot primarily with my Sky Watcher refractor telescope, the Evolux 62ED, which is a small size telescope with a retractable dew shield. The dew shield can effectively delay the process of dew forming on your optics, but it won’t stop it completely. It reduces the amount of sky seen by the telescope objective, and therefore the amount of radiation lost to the night sky. This can keep dew from forming on the objective for an extended period of time. As an added benefit, a dew shield can increase the contrast in your images by acting as a light shield, blocking stray light from entering the telescope lens. Dew shields can also protect the lens elements from any dust and dirt during the setting up or use of the telescope.
The next option is to heat the telescope to a point where you are putting sufficient heat into the system to compensate for that lost in radiation. By adjusting the heat input it is possible to keep the telescope optics above the dew point of the ambient air. You don’t want to put so much heat into the telescope that you create large temperature differences though as this can cause thermal convection currents and turbulence that will reduce the “seeing” quality.
Heating can be as simple as keeping a small fan or hair drier around the telescope but most astrophotographers will use dedicated dew heaters on their systems. It is also advisable to put a dew heater band on any guide scope since moisture can develop on that telescope as well which will very quickly affect autoguiding performance.
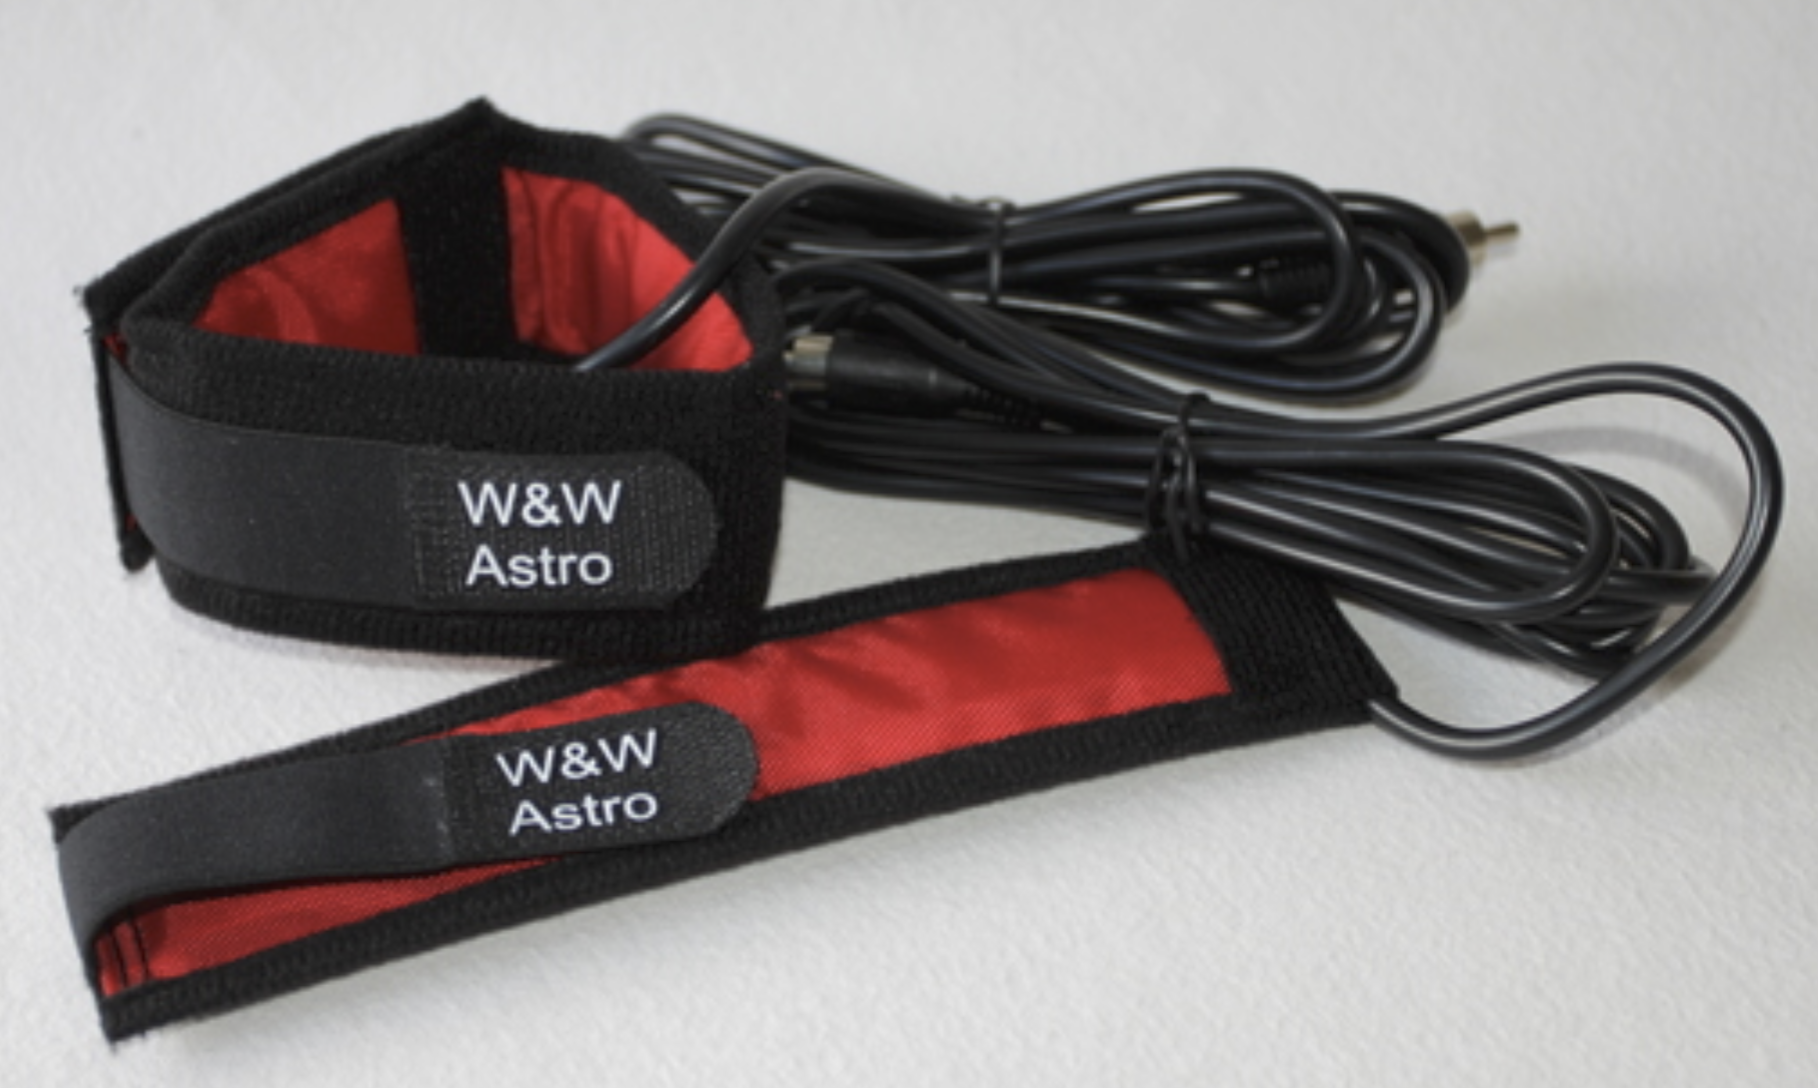
After looking around at the many different dew heater manufacturers I decided to try the W&W brand manufactured in the UK by Dew Control (www.dewcontrol.com). The reasons for this come down to:
reputation for quality components and construction
power efficient
available in a wide range of sizes
British made
Another main selling point is that the dew heaters are available with custom power cable lengths and connectors. Most dew controllers come with RCA plugs and 2m or more of power cable. As I am trying to minimise the amount of slack or zip-tied cables this is a major consideration. Dew Control will make heater bands with whatever length cables you require and they also offer the option of 2.1mm x 5.5mm barrel plugs needed to connect the dew heaters directly into my ASIair Plus
The custom dew heaters arrived after a couple of days. The strap is very well finished, and the materials, power connector and cable are all high quality. It's easily wrapped around the optical tube and held in place with the attached elasticated Velcro strap.
Power consumption is always a concern when it comes to a portable astrophotography rig, so make sure you choose an option that covers your requirements without using more power than you need. The Dew Control heaters are designed to operate from 12 Volts DC so can be powered directly from the ASIair Plus. They have a low power consumption of only 0.2W/cm of strap length. My Evolux 62ED has a OTA diameter of 80mm (circumference of 250mm) so required a strap length of 30cm. This has a power consumption of 6.4W and current draw of 0.53A. My ZWO 30mm f4 guide scope has a diameter of 44mm (circumference of 138mm) so required the 15cm long strap with a power consumption of 3.0W and current draw of 0.25A. Both are well within the power output of the ASIair.
The 2.1mm x 5.5mm barrel connectors are a perfect fit for the ASIair and are very high quality.
Running the dew heaters from the ASIair requires that you enter the settings menu and select Dew Heater for the appropriate power outlets. Once turned on you can then use the slider to select the appropriate power for the heaters.
The ASIair settings menu allows you to control the power output to the dew heaters via sliders
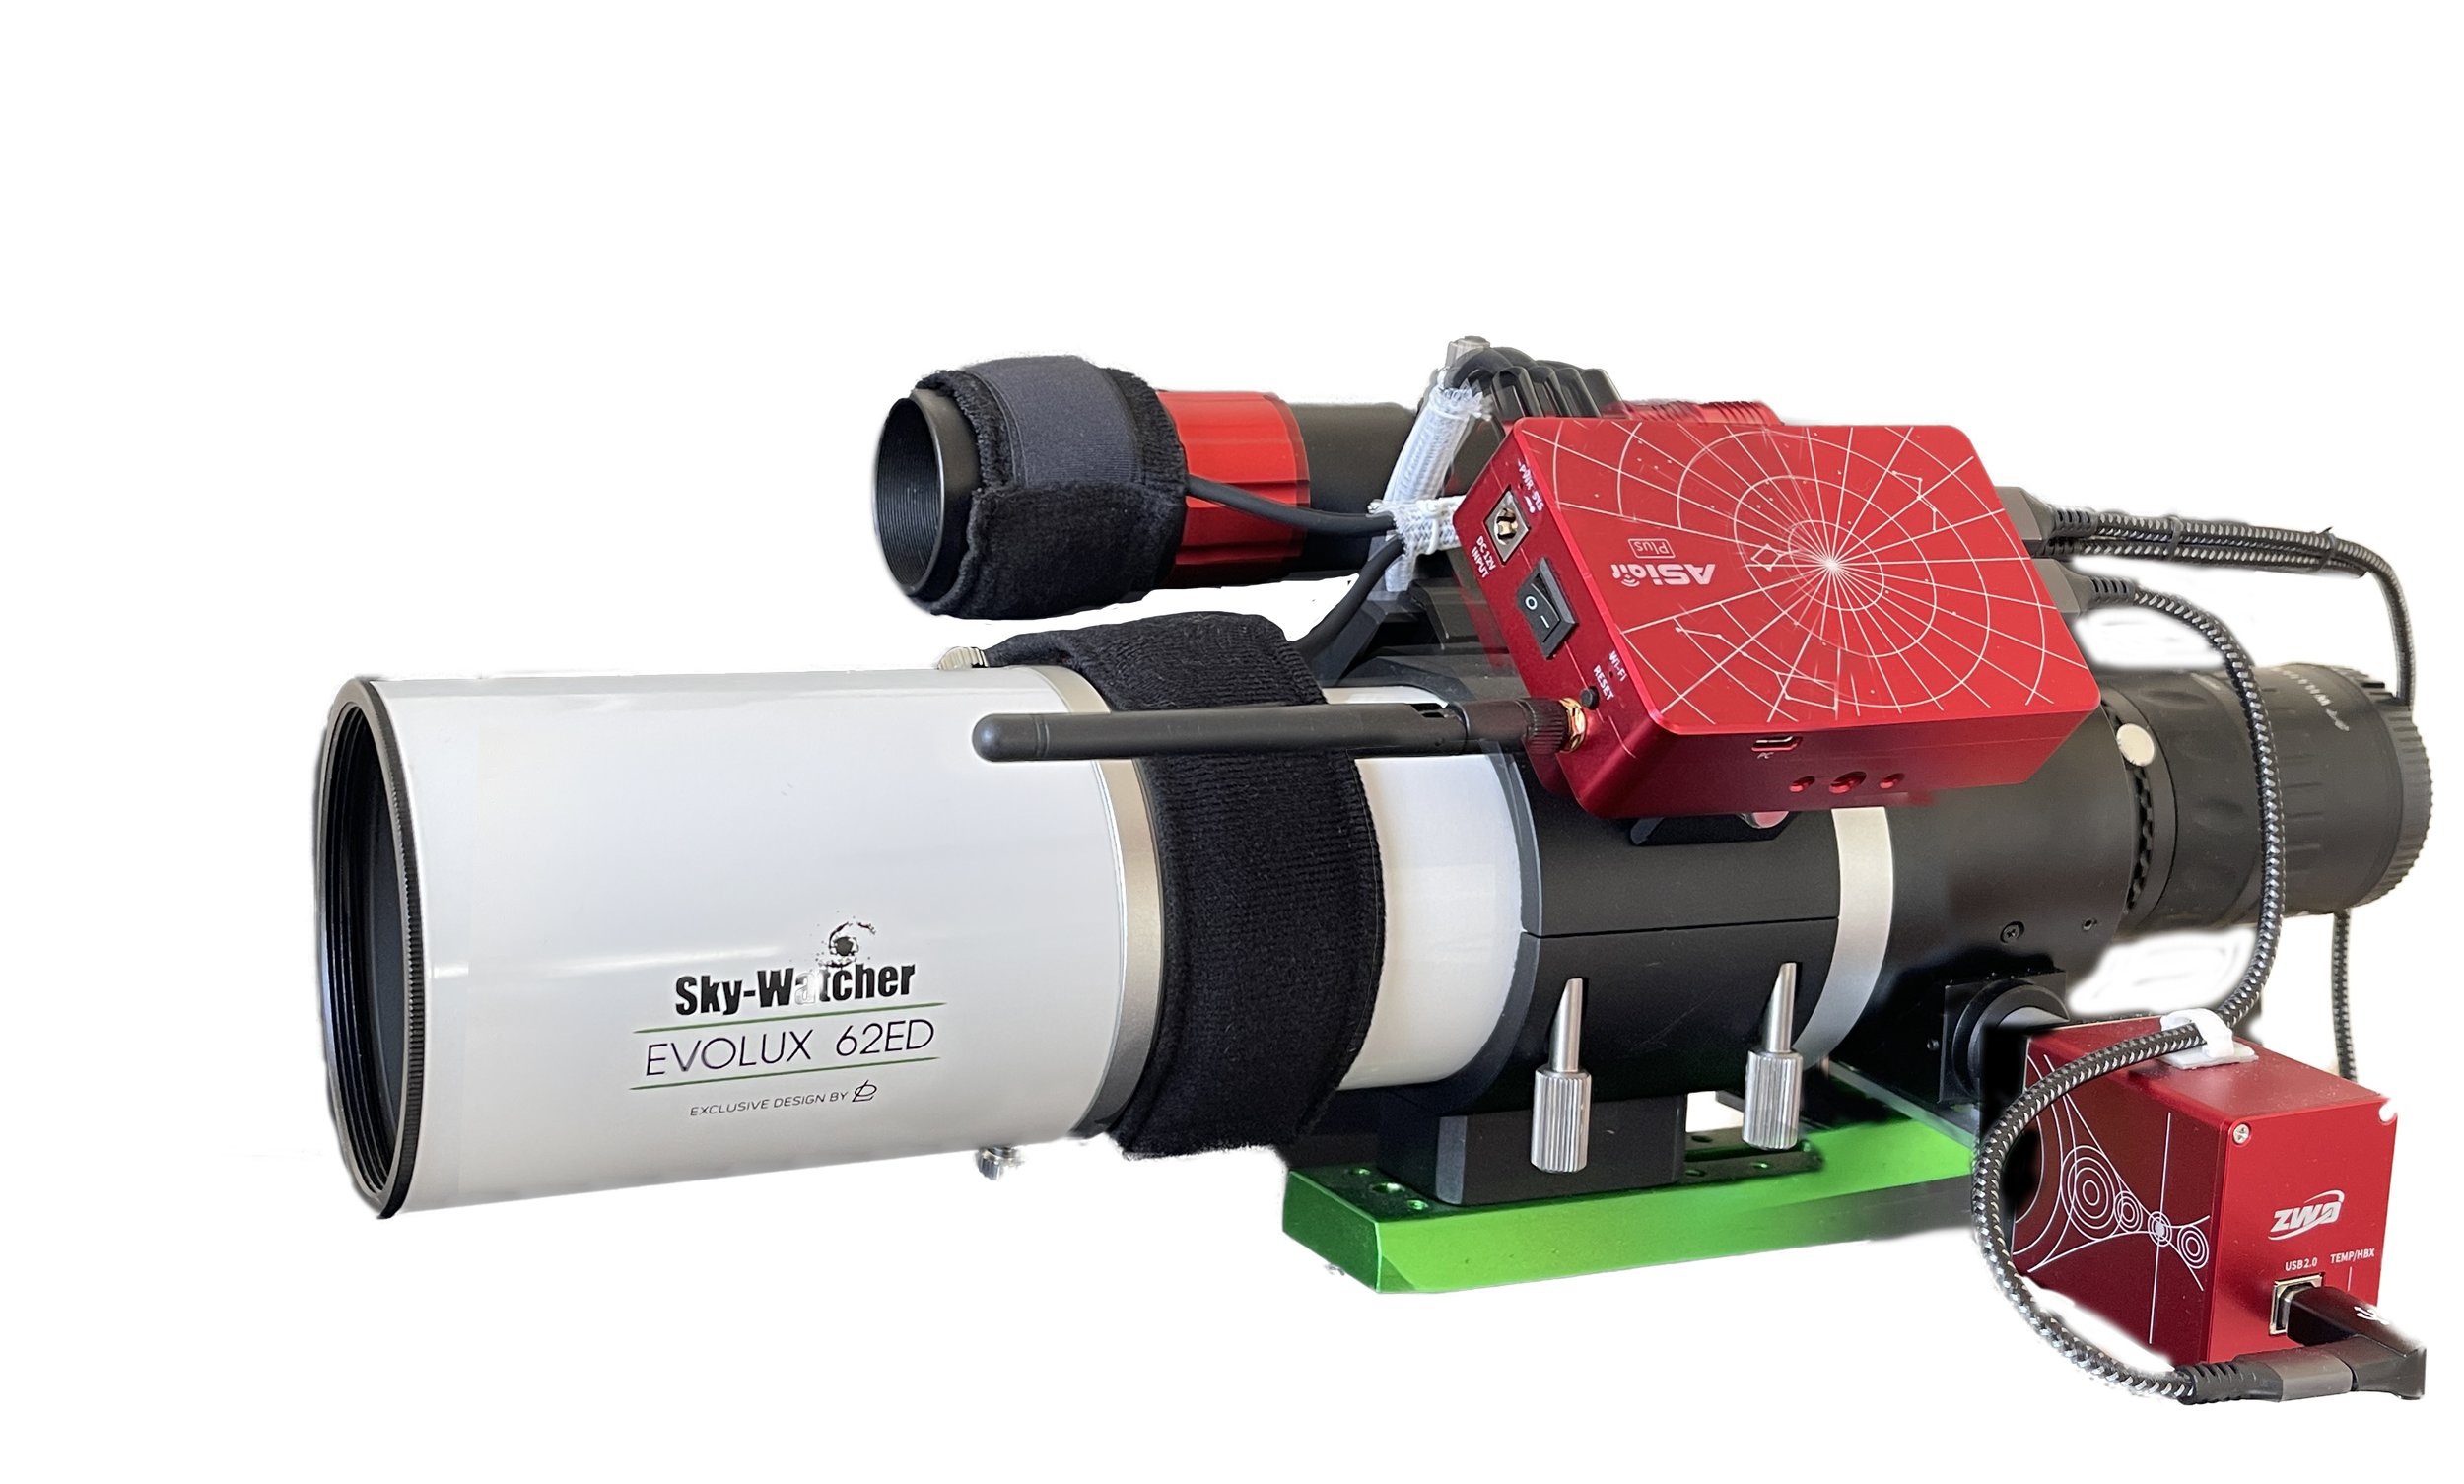
Complete imaging rig with dew heaters fitted.
Final Thoughts
As with everything else I’ve set up on my journey with the ASIair Plus, integrating and controlling the dew heaters has been a simple process. The Dew Control heater straps were supplied quickly even though I asked for custom cable lengths and non standard connectors. The heaters are excellent quality and extremely well made and do not cause buzzing of the ASIair when power is reduced below 100% (as some cheaper heater bands have been reported doing).
Clear Skies !


